Blog
Mastering Karambit Sharpening: Easy, Effective Techniques
Understanding the Karambit’s Curve
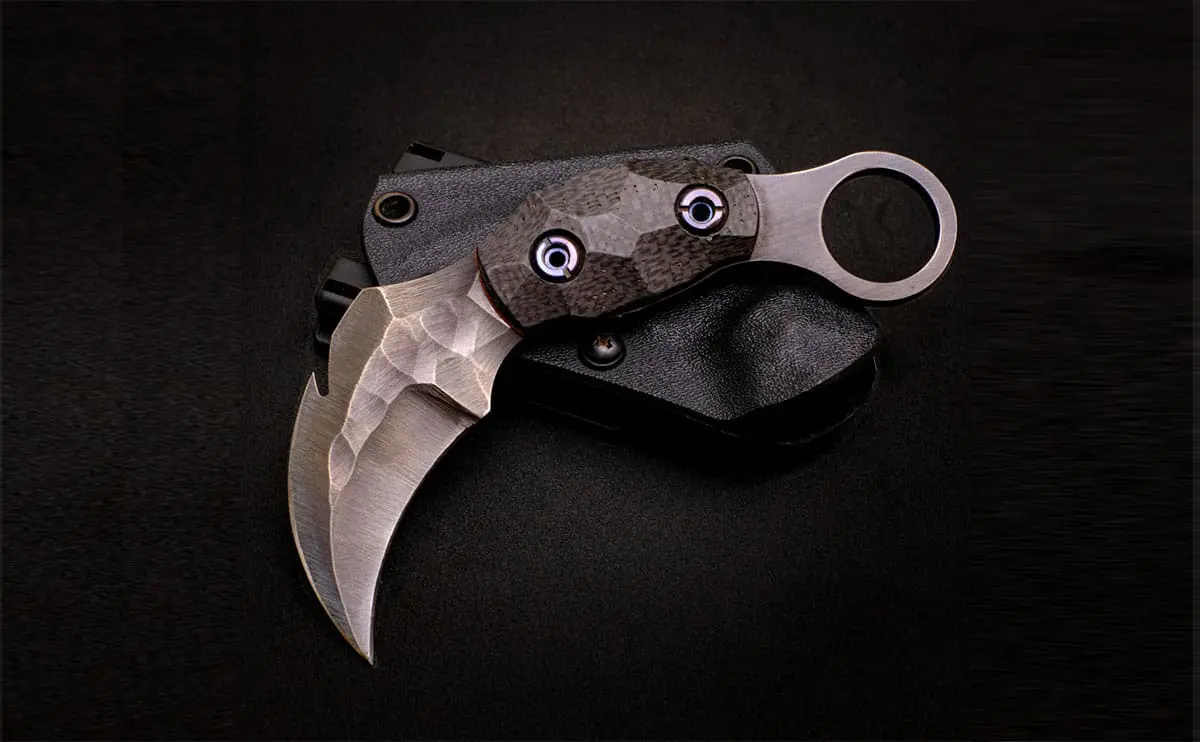
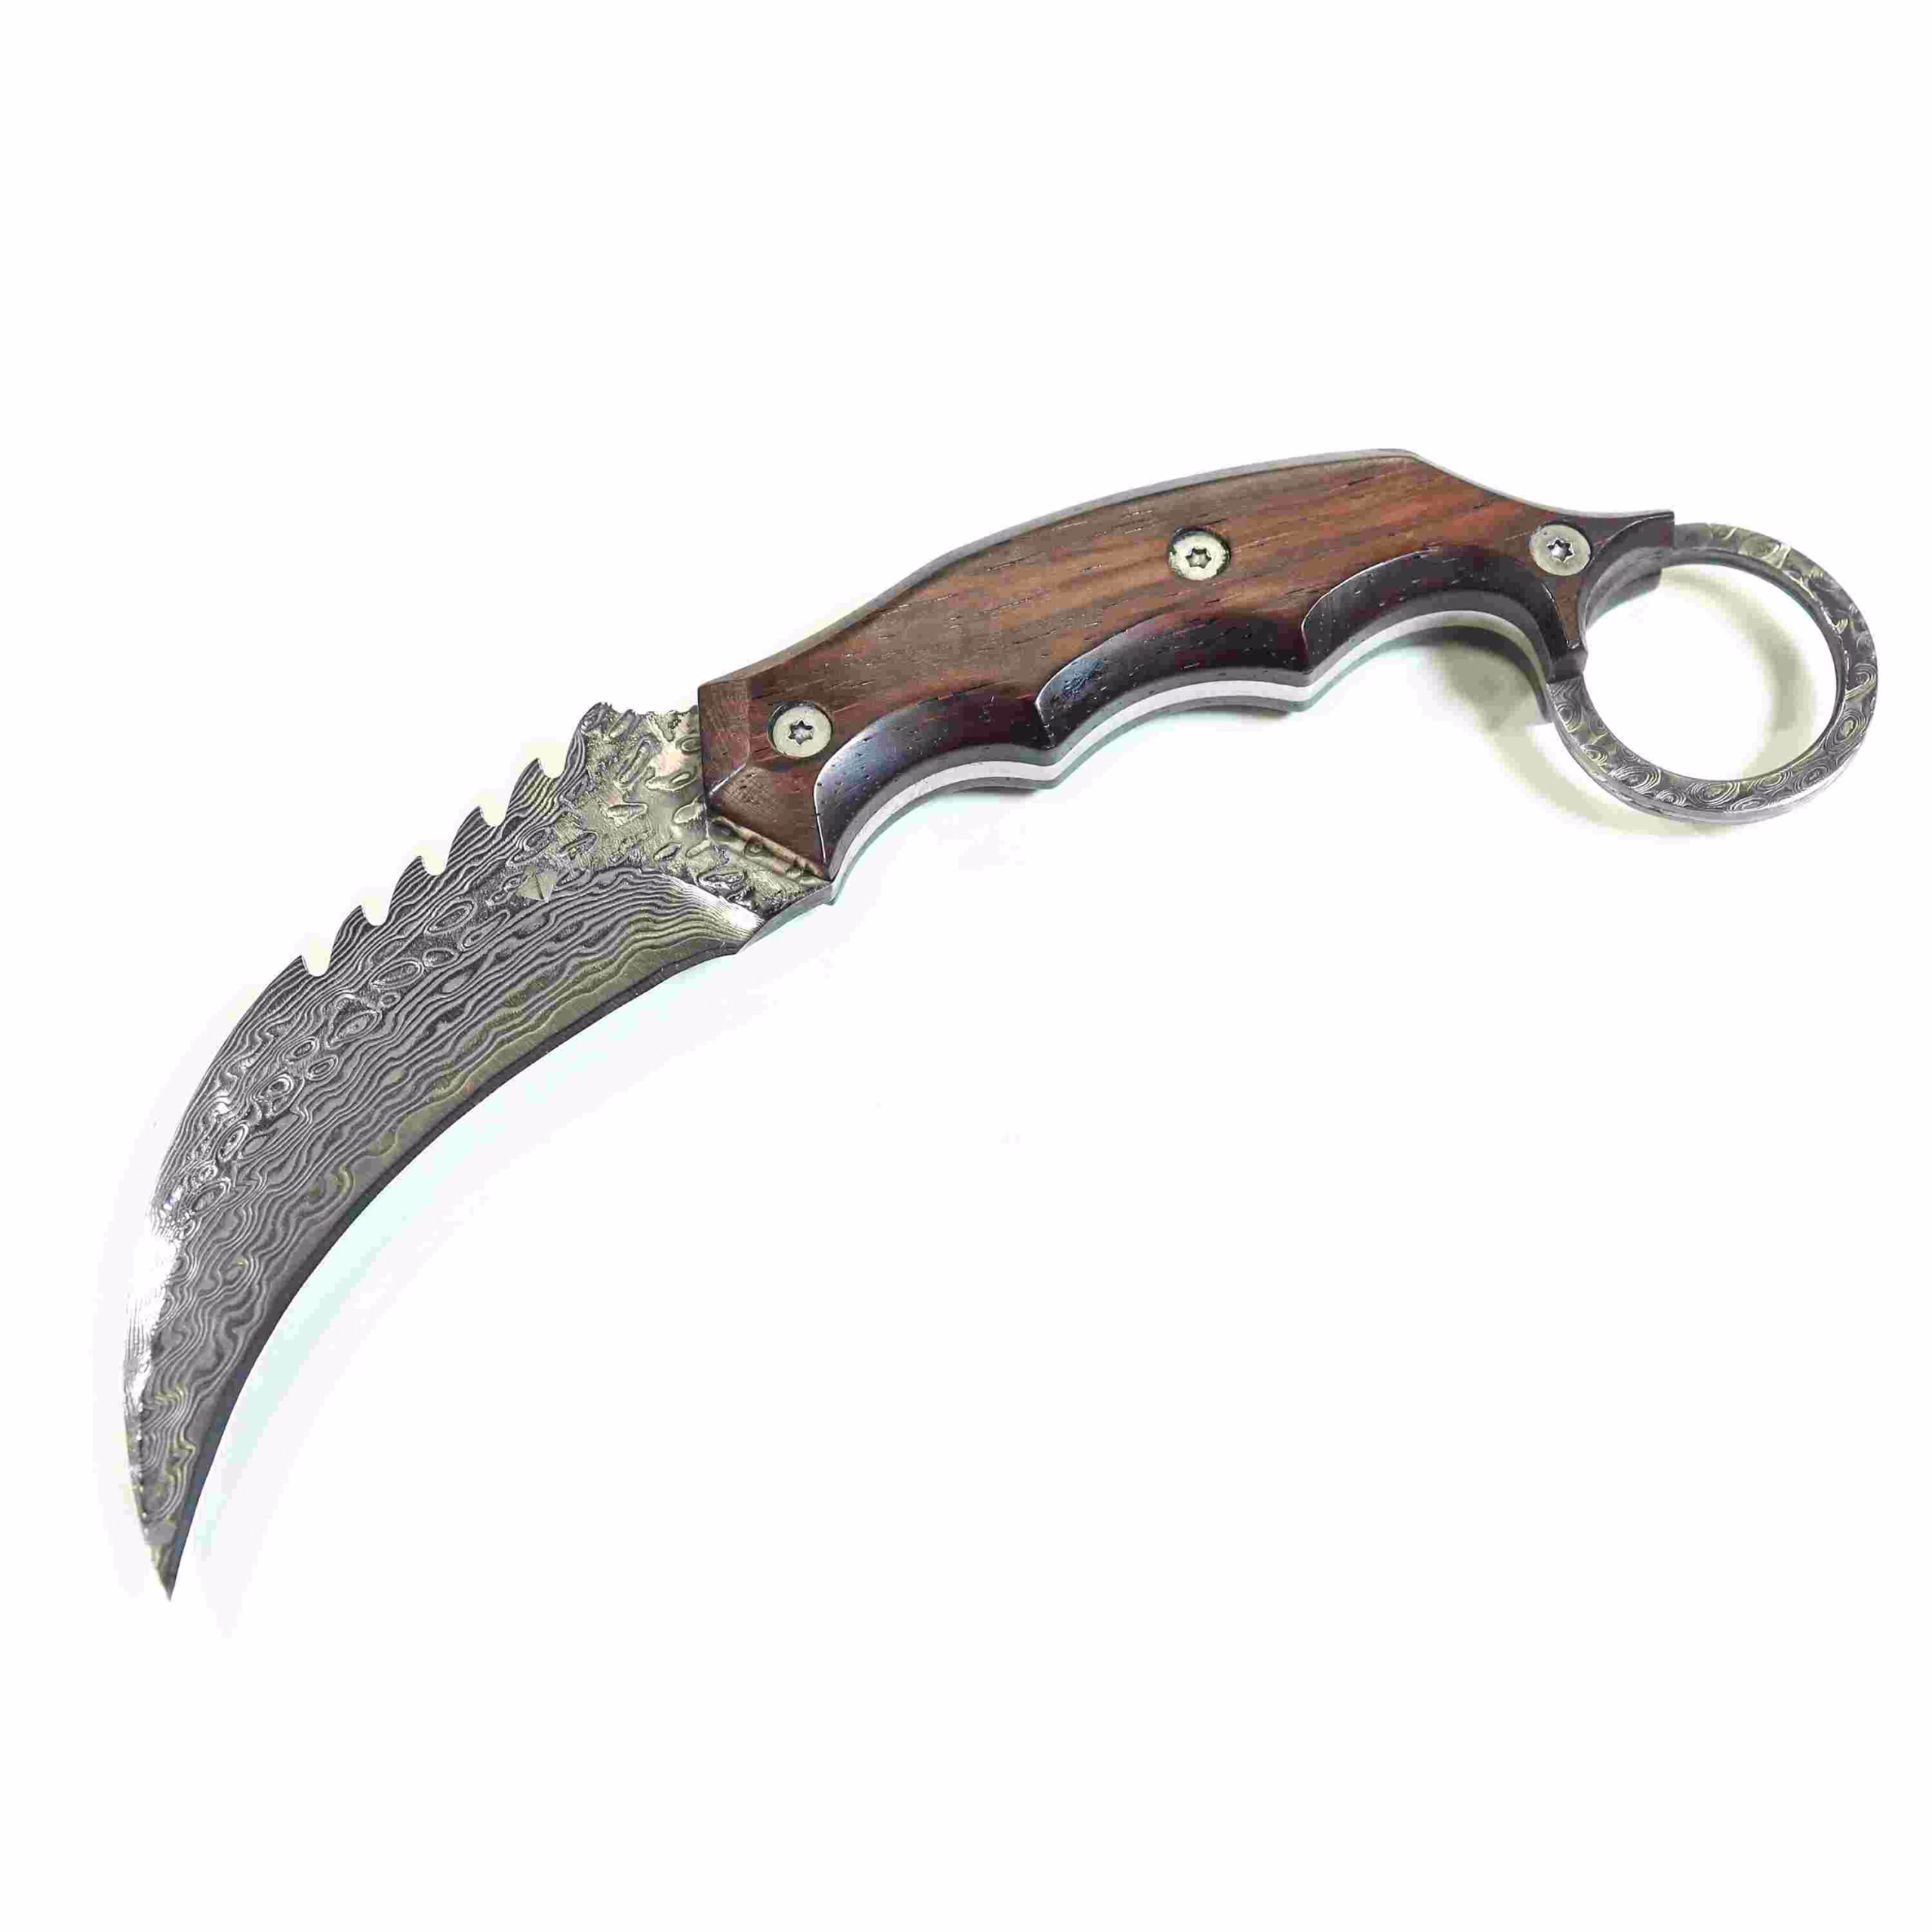
Karambit knives feature a distinctive inward-curved blade (hawkbill), ideal for precise slicing and gathering materials. Sharpening this curve effectively requires specific tools and methods, differing significantly from straight-edge knives.
Essential Sharpening Principles
Despite its unique shape, sharpening a karambit relies on universal knife-sharpening basics:
- Angle Matching: Sharpen at the existing blade angle (usually 15-20 degrees per side).
- Raising a Burr: Sharpen until a burr (wire edge) forms along the entire blade.
- Grit Progression: Move from coarse to fine abrasives for a polished, keen edge.
Recommended Tools for Sharpening Karambits
- Abrasive Honing Rods: Ideal for reaching the blade’s inner curve.
- Examples: DMT Diamond Rod, Ceramic rods (Spyderco).
- Flexible Belt Sharpeners: Efficient and conforms to blade curves.
- Examples: Work Sharp Ken Onion Edition.
- Specialized Sharpening Systems: Simplify precise angle control.
- Examples: Spyderco Sharpmaker, Lansky Curved Blade Hones.
- Bench Stones: Advanced users can sharpen with careful technique and patience.
Table 1: Recommended Sharpening Tools for Karambits
| Tool Type | Examples | Key Benefits for Curved Blades | Considerations/Notes |
| Abrasive Honing Rods | DMT Diamond/Ceramic Steel Kit, Jewelstik Professional 3 Grit Diamond Steel, F. Dick Combination Steel | Reaches concave sections, ideal for edge maintenance, realigns burrs | Primarily for maintenance, not for dull blades; ceramic for honing, diamond for material removal |
| Flexible Abrasive Belts (Powered Sharpeners) | Work Sharp Ken Onion Elite Mk.2, Kalamazoo | Conforms to blade curve, efficient and fast material removal, produces factory finish | Requires smooth movements to avoid overheating steel, higher initial cost |
| Specialized Sharpening Systems | Lansky Curved Blade Hones, DMT Diamond Cone Kit, Naniwa Gouken Curved Water Stones, Lansky Turn Box, Spyderco Sharpmaker, Wicked Edge | Preset angles for consistency, narrow/rounded stones fit curves, triangular rods (Sharpmaker) excel on curves | Specific to system, some require clamping, Wicked Edge needs precise setup |
| Bench Stones/Whetstones | Diamond sharpening stones, Naniwa Water Stones, Oil stones | Versatile for various grits, allows freehand control, effective for reprofiling | Challenging for recurve blades; requires significant skill and practice to maintain consistent angle on curves |
Choosing the Optimal Sharpening Angle
- General Use: 15-20 degrees per side (30-40 degrees inclusive).
- Heavy-Duty Tasks or Self-Defense: Lean towards a durable edge, around 20 degrees per side (40 degrees inclusive).
Determining the Blade Angle
- Marker Trick: Color bevel with a Sharpie; sharpen lightly and observe ink removal.
- Tactile Assessment: Place blade flat on stone and slightly lift until the gap disappears.
- Angle Guides: Tools like the Spyderco Sharpmaker have preset angles for convenience.
Maintaining Consistent Angles
- Body Mechanics: Use stable positions and core-driven movements, not just wrist action.
- Segmenting: Sharpen in smaller blade sections, especially the tip.
- Adjust Workspace: Sharpen at table edges for better blade movement control.
Table 2: Common Sharpening Angles and Their Applications
| Angle Range (Degrees per side) | Inclusive Angle (Degrees) | Applications typiques | Sharpness vs. Durability Characteristics | Relevance to Karambit |
| < 10° | < 20° | Straight razors, scalpels, delicate tools for soft materials | Very fine, extremely fragile edge; minimal resistance cutting | Generally too delicate for karambit’s intended use |
| 10 – 15° | 20 – 30° | Japanese chef knives, slicing meats, fine slicing tasks | Very fine, delicate edge; susceptible to impact damage | Possible for specialized karambits used for very light cutting; requires harder steel |
| 15 – 17° | 30 – 34° | Many Japanese knives, newer European/American cutlery | Good balance of sharpness and durability; cuts easier than greater angles | A good starting point for many karambits, balancing utility and durability |
| 17 – 22° | 34 – 44° | Most kitchen knives, pocket knives, outdoor knives | Good trade-off between sharpness and durability; robust enough for general use | Common and recommended range for karambits, especially for general utility or self-defense, balancing cutting ability with robustness for impact/shredding tasks 7 |
| 22 – 30° | 44 – 60° | Hunting knives, durable pocket knives, harder use outdoor knives | Considerably more durable edge; cutting ability may be slightly reduced | Suitable for karambits intended for very heavy-duty tasks or extreme impact resistance 18 |
| > 30° | > 60° | Machetes, cleavers, axes, pry tools | Very durable edge; cutting ability noticeably reduced; high force cutting | Generally too obtuse for a karambit’s cutting function; more for tools requiring extreme durability over sharpness |
Step-by-Step Karambit Sharpening
1. Preparation:
- Thoroughly clean and inspect for damage.
- Secure the knife firmly.
2. Coarse to Medium Sharpening:
- Use coarse abrasives (220-700 grit) for damaged blades.
- Raise a consistent burr, then progress to medium grits.
3. Fine Sharpening:
- Move to finer abrasives (1000-3000 grit).
- Apply progressively lighter pressure to refine and polish the edge.
Deburring and Stropping for Final Sharpness
Deburring Techniques:
- Use light, alternating strokes to weaken and remove the burr.
- Optionally, drag lightly through soft materials (wood, cardboard).
Stropping:
- Apply compound to the strop and maintain the sharpening angle.
- Always drag the blade spine-first (edge trailing).
- Specialized strops (with corners or profiled edges) aid in stropping curved blades.
Conclusion
Sharpening a karambit demands specialized tools and techniques due to its unique geometry. Following these clear steps and tips ensures optimal blade performance and longevity. Mastery involves practice, patience, and attention to detail, enhancing the utility and satisfaction of owning this specialized knife.